Baby Shark Cupcake Idea

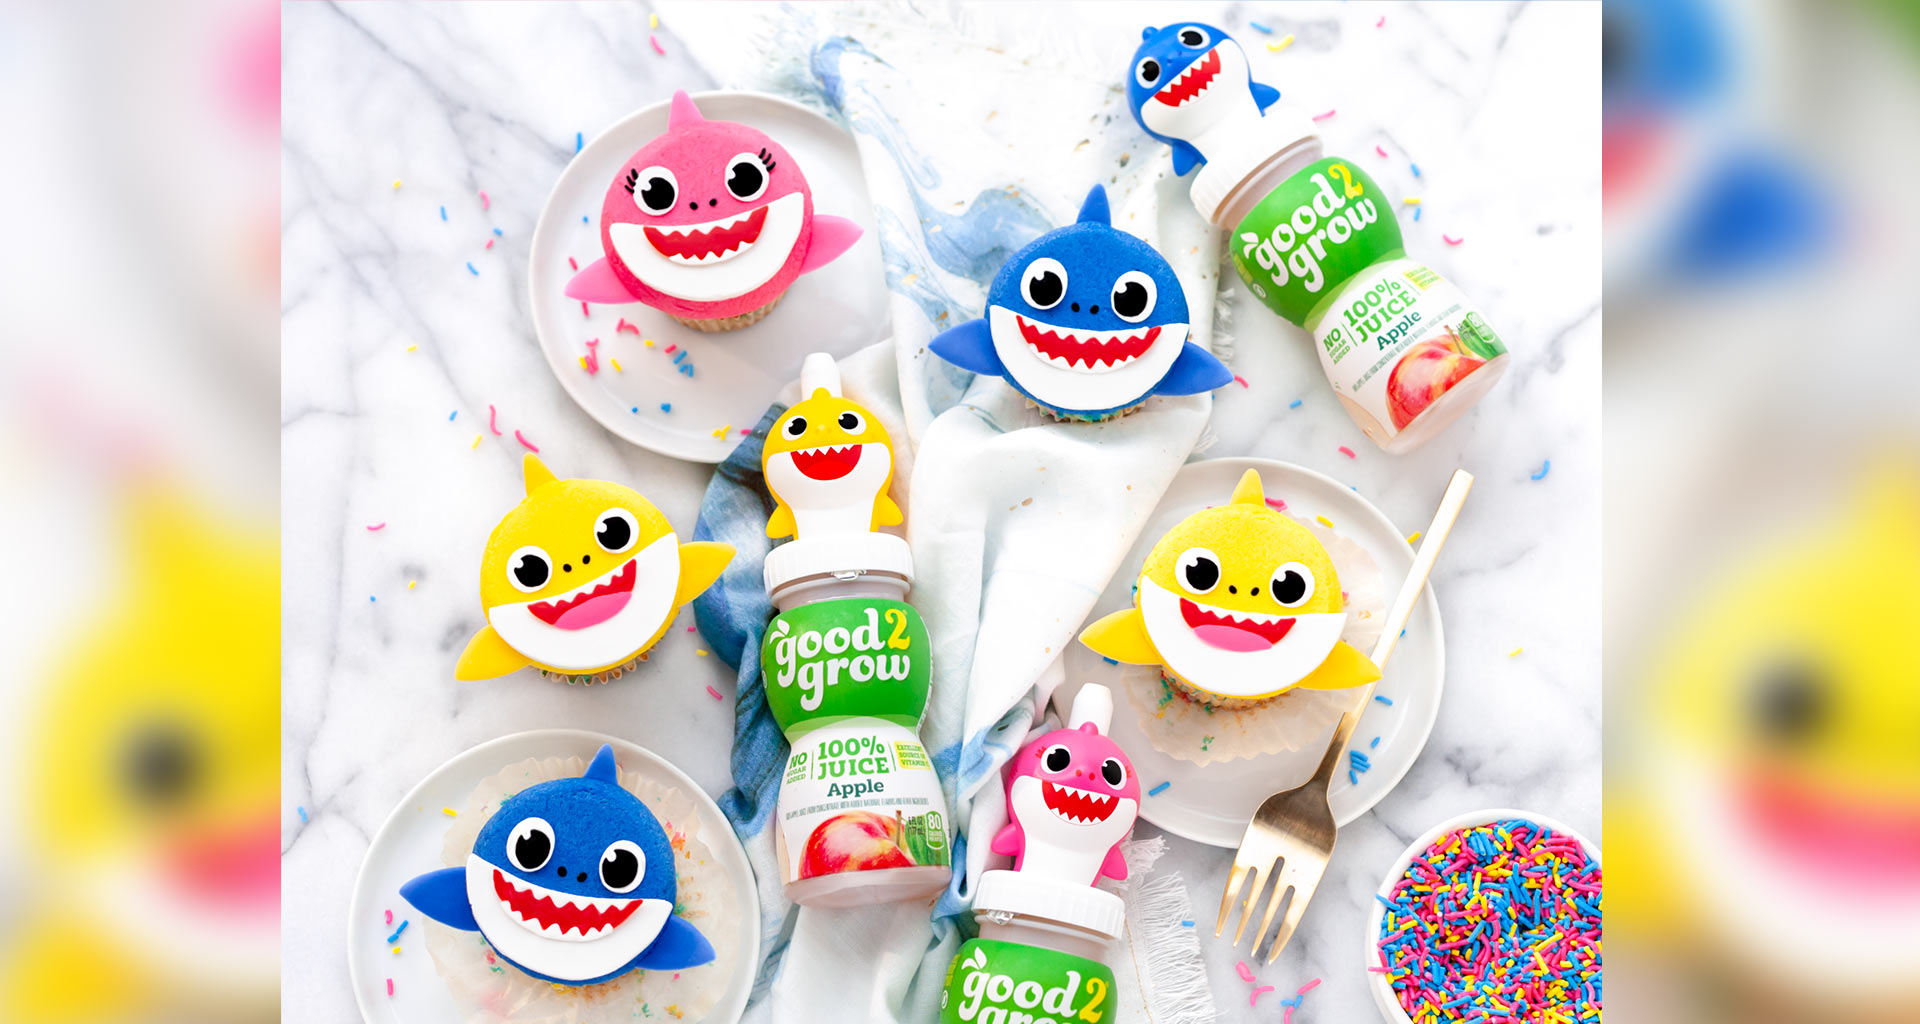
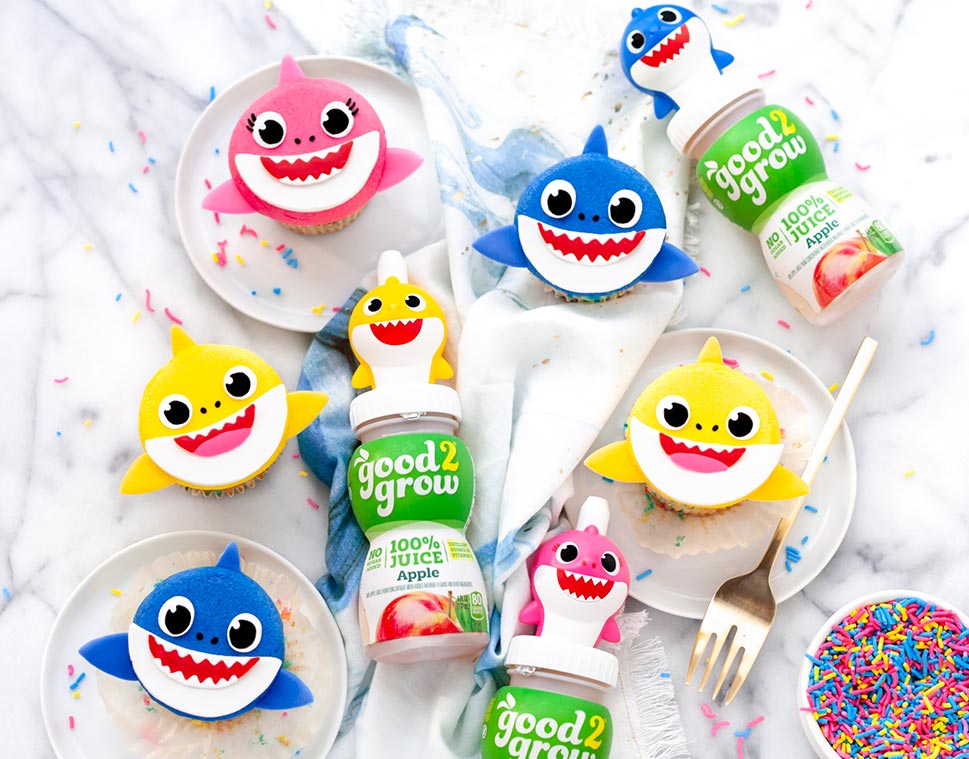
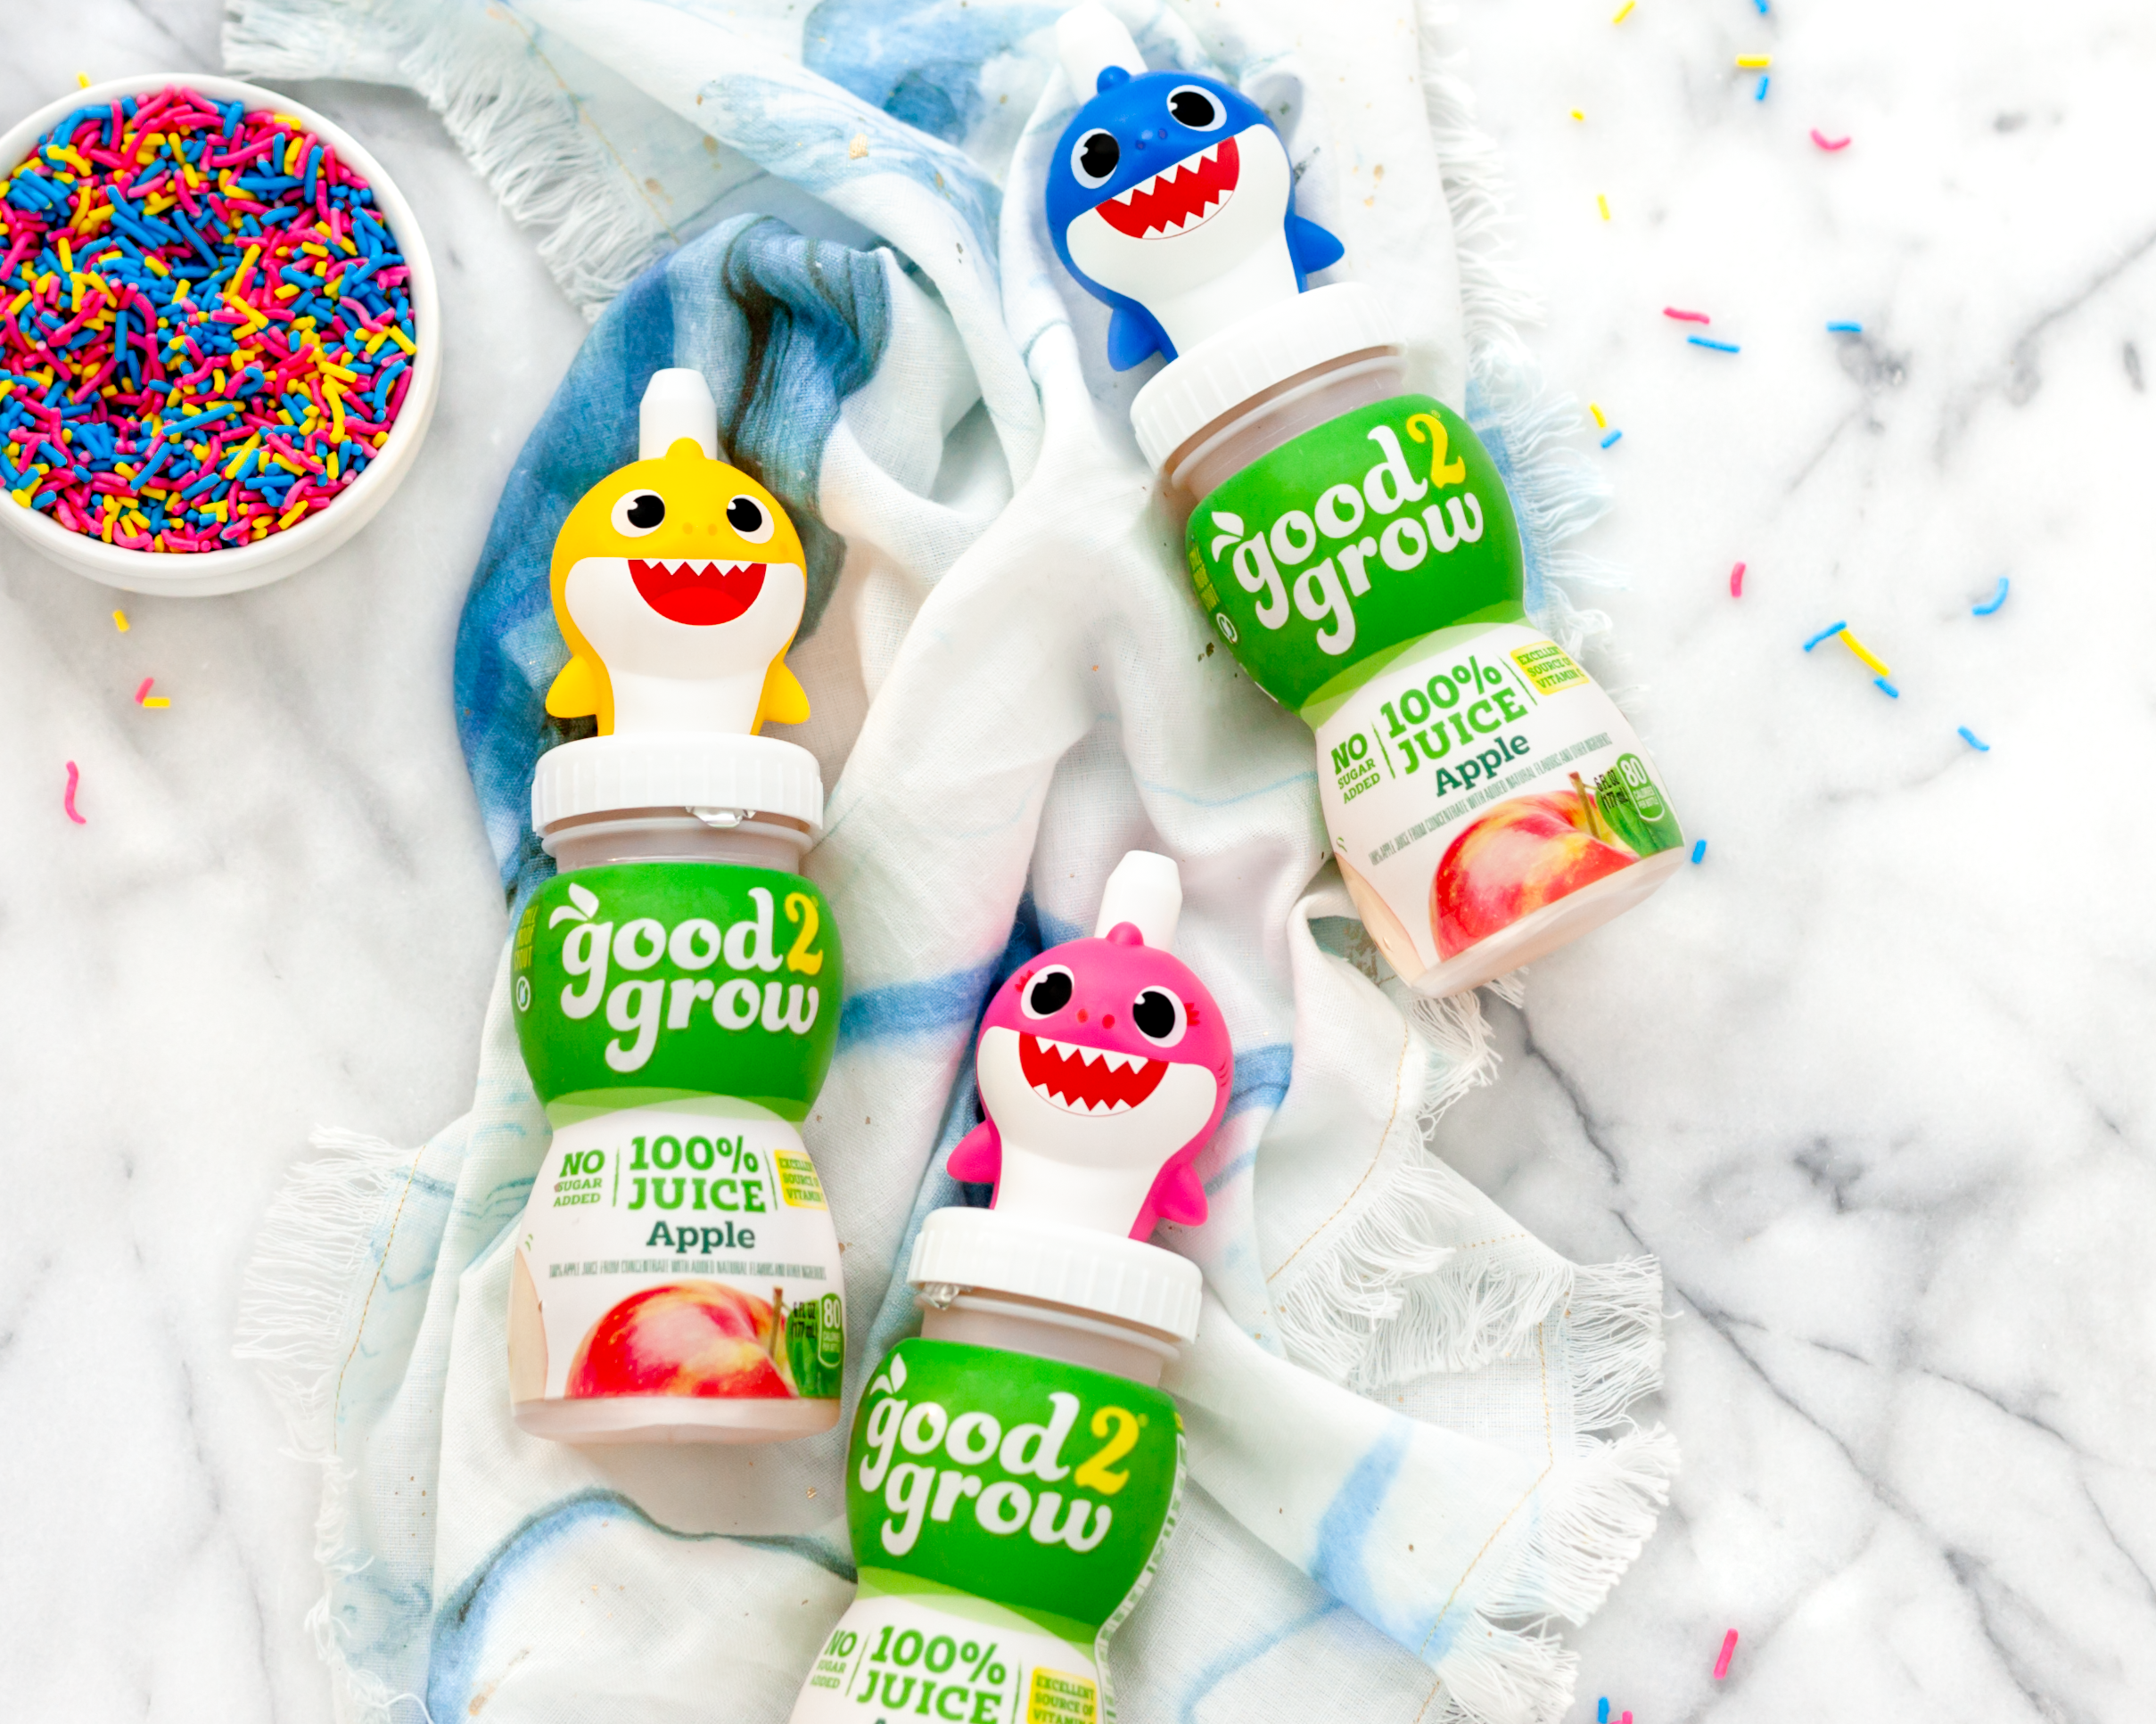
🦈 We’ve got some-fin cute for your next kid’s birthday party! Confectionary Queen Luxe and the Lady got inspired by the jawsome spill-proof Baby Shark tops on good2grow, baked up a batch of confetti cupcakes 🧁, and turned them into the Baby Shark Family 🥰. They’d be fin-tastic for a start of summer party, Baby Shark kid’s birthday celebration, and beyond.
The fluffy vanilla cupcakes are easily decorated with velvety smooth vanilla buttercream 😋, a little white fondant, and colorful candy wafers. See below for the tutorial and even a super helpful pdf template to make the characters a literal piece of cake 😆🍰!
Ingredients:
Confetti Cupcakes: makes 1 dozen
1 1/2 cups of all-purpose flour (180 grams)
1 1/4 teaspoon baking powder
1/4 teaspoon salt
1/2 cup unsalted butter (1 stick), room temperature
3/4 cup granulated sugar (150 grams)
2 large eggs, room temperature
2 teaspoons vanilla extract
1/2 cup whole milk, room temperature
1/4 cup yellow, bright pink, and royal blue jimmies (sprinkles)
Vanilla Buttercream:
1 cup (2 sticks) unsalted butter, room temperature
3 cups powdered sugar, sifted (360 grams)
½ tablespoon vanilla extract
3 TB heavy whipping cream
Royal Blue, Rose (bright pink/fuchsia), and Yellow icing gel colors
3 piping bags
1A piping tip (and couplers, if using)
Baby Shark Family Decorations:
Royal Blue, Bright Pink, Yellow, Black/Dark Chocolate, Bright White, and Red candy/chocolate melting wafers
Paramount Crystals (optional, see notes)
White fondant
Helpful tips
Remove all chilled ingredients (butter, milk, eggs) from the refrigerator about 45 minutes before you begin to bring them to room temp. This allows the ingredients to blend into the batter evenly.
Make the chocolate wafer decorations while waiting on the cupcakes to cool and then they’ll be all set once you’re ready to decorate. To save time, you can use large premade sprinkle eyes instead of making your own.
Paramount crystals significantly help to smooth the melted chocolate/candy wafers (they also slightly prolong the set time – giving you more time to create larger pieces). You can find these online or in the baking aisle at craft stores.
If you don’t like fondant, you can swap it out for white taffy candy. Simply heat a piece in the microwave (unwrapped) for about 3-5 seconds before rolling out to make it more pliable.
Directions:
Preheat the oven to 350°F. Line a muffin pan with cupcake liners and set aside.
Sift the flour, baking powder and salt into a large mixing bowl and whisk to combine. Set aside.
Fit your mixer with the paddle attachment and cream the softened butter and sugar together for 3-5 minutes until lighter in color and fluffy. Scrape down the sides and bottom of the bowl.
With the mixer on medium-low, add the egg whites one at a time, then the vanilla. Mix until combined. Scrape down the sides and bottom of the bowl.
Turn the mixer down to low (speed 2) and alternate adding the flour mixture and the whole milk (beginning and ending with the flour). Scrape down the sides of the bowl and mix again just until incorporated.
Scoop about 3 tablespoons of batter into each cupcake liner. I like to use an ice cream scoop for this to save time (and ensure they’re all evenly filled). Bake for 18-20 minutes or until a toothpick inserted in the center comes out clean.
Allow the cupcakes to cool for 5 minutes in the pan before transferring to a cooling rack to cool completely (at least 1 hour before frosting).
Now let’s make the frosting! Sift the powdered sugar into a large mixing bowl (this makes the final frosting super smooth). Set aside.
Fit your mixer with the whisk attachment and beat the softened butter for 3 minutes until creamy. With the mixer on low, slowly add in the powdered sugar. Once incorporated, add the vanilla, and mix on medium speed for 3 minutes again (you may want to cover the bowl at this point so powdered sugar doesn’t go flying).
Add the heavy whipping cream and continue to mix for 1 minute more. You will notice the color of the buttercream whitening significantly.
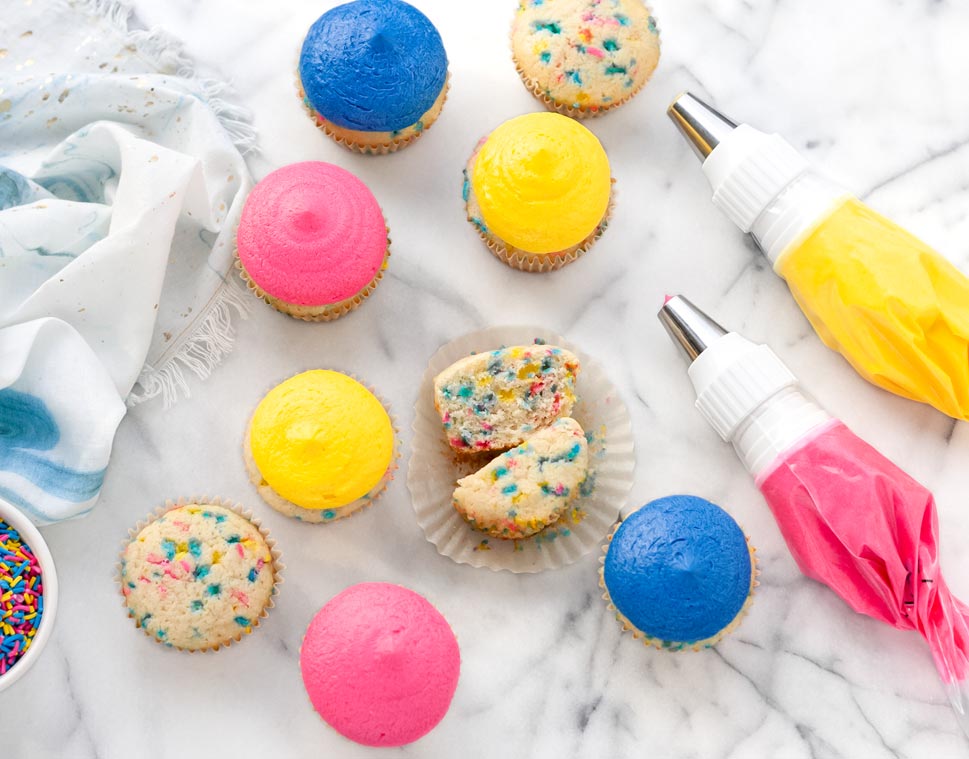
Divide the buttercream evenly between 3 medium sized bowls. Add the Royal Blue icing gel to 1 bowl (you can add a drop or 2 of Black icing gel to deepen it), Yellow to the second, and Rosa (or a bright pink) to the third. Stir and continue adding coloring until you reach your desired hues.
Fit 3 piping bags with the 1A large round piping tips. Use a spatula to rapidly mix each color of frosting before transferring to the bags (I like to push the frosting from side to side against the edges of the bowl vs stirring to push the air bubbles out. This gives you a smoother frosting base when piping).
Holding the piping bag directly above each cupcake (without touching), pipe a large round mound of the blue frosting onto 4 cupcakes, yellow onto 4, and pink onto the remaining 4.
This is the fun part! To easily flatten and distribute the frosting line a baking sheet with wax paper and carefully turn each cupcake over onto the prepared pan (with the frosting side face down). Gently press down to evenly distribute the frosting across the top of each cupcake and repeat with all cupcakes. Transfer the pan to the freezer for 10 minutes.
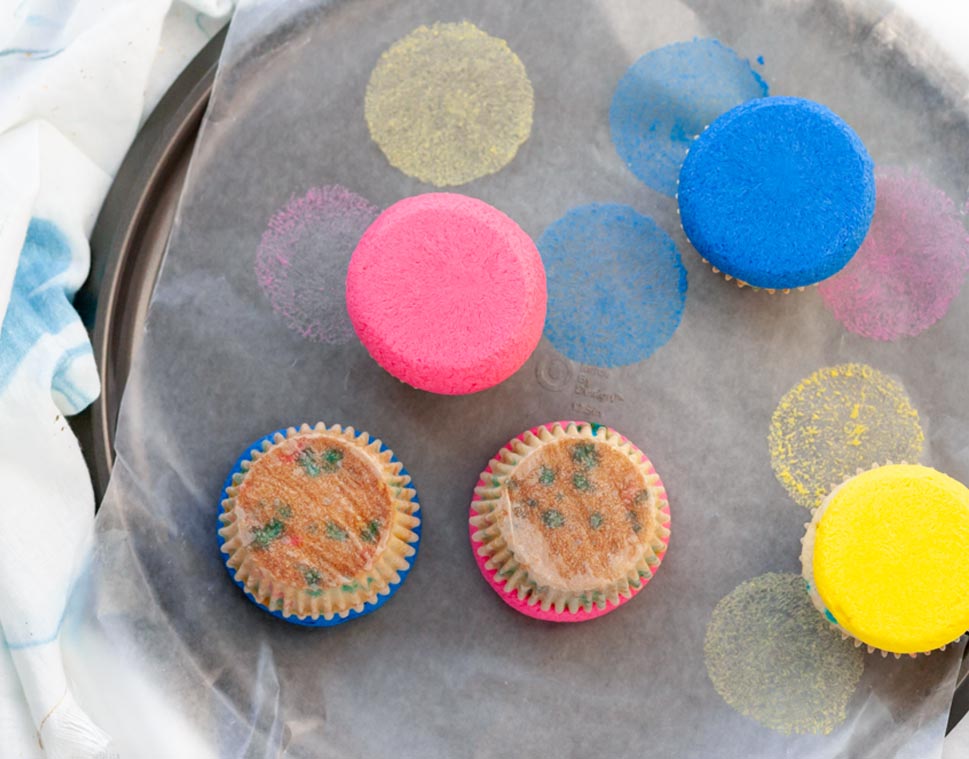
Once chilled, gently peel each cupcake away from the wax paper and transfer them to the refrigerator until ready to decorate.
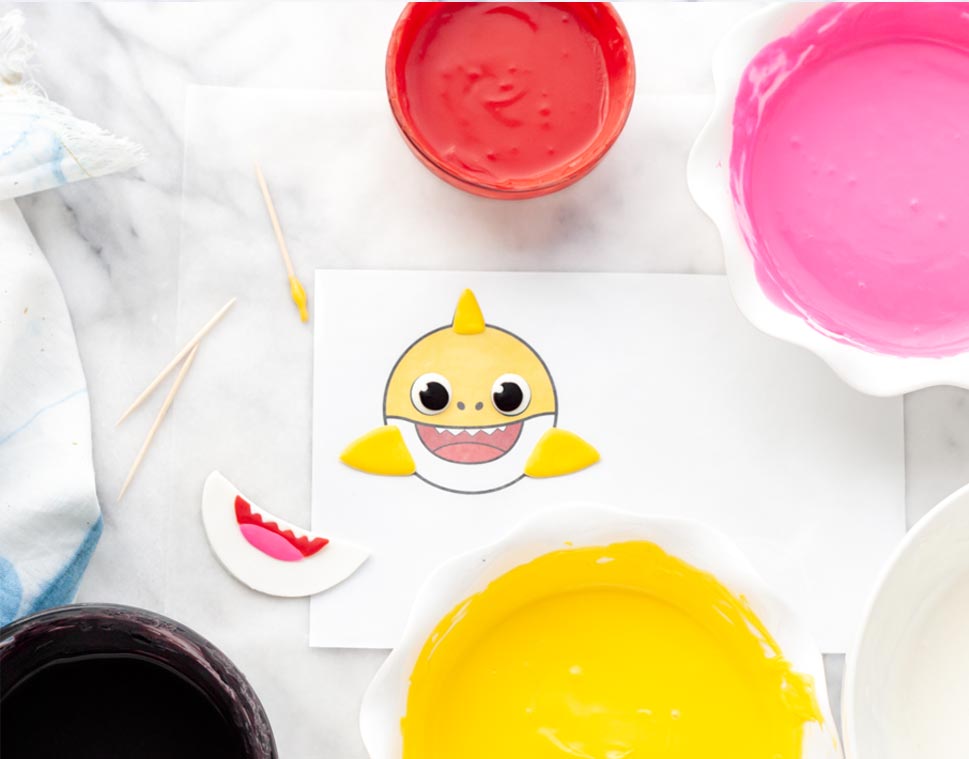
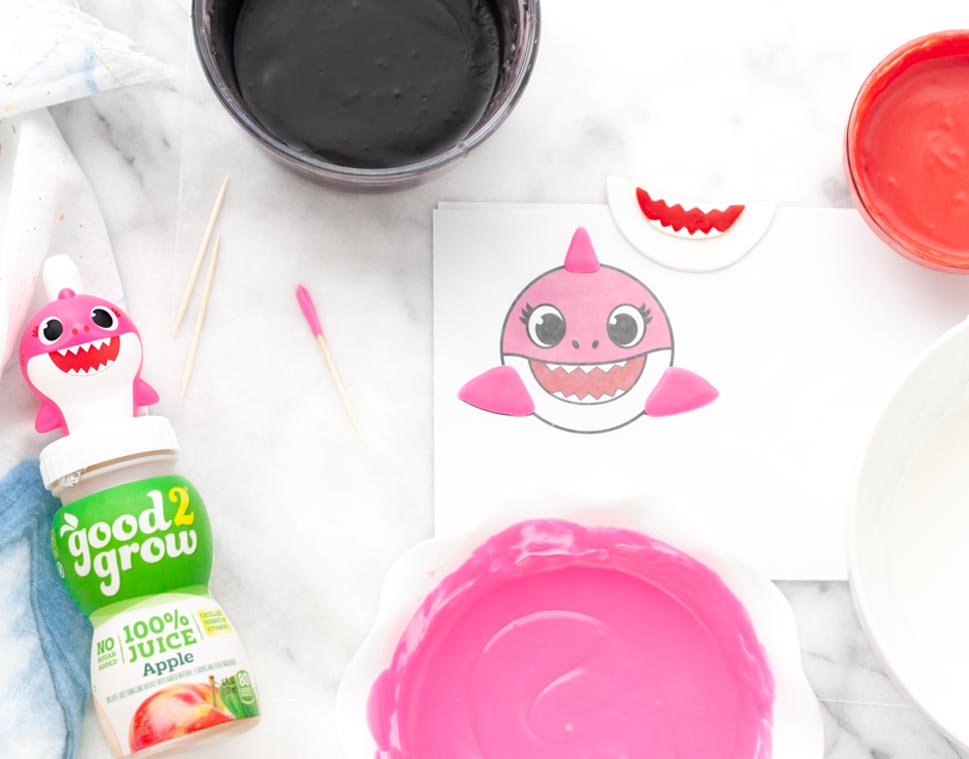
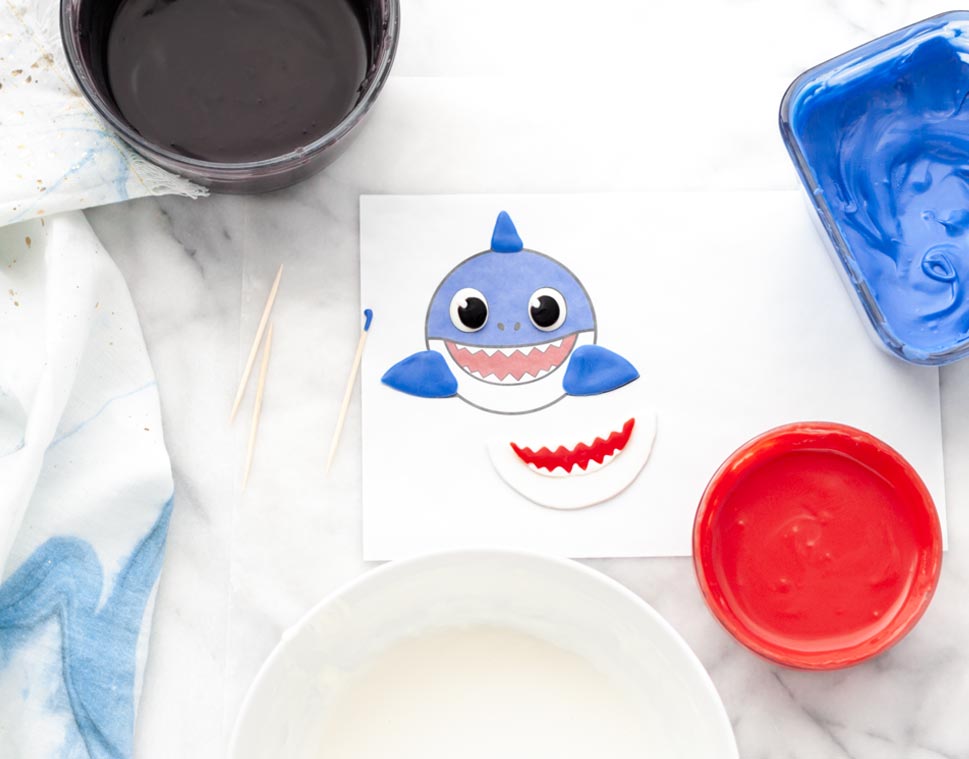
Time to turn these cupcakes into the super cute shark family! Print the character template making sure it’s sized to your cupcakes. Place the Royal Blue chocolate wafers into a microwave-safe bowl and heat for 1 minute at 50% power. Stir, then continue to heat in 30-second intervals, at 50% power, stirring after each, until smooth and completely melted. Add paramount crystals, if using. Place a sheet of wax paper over the template and either use a toothpick dipped into the melted chocolate or a piping bag to create 4 sets of fins for Daddy Shark. Repeat with the Bright Pink and Yellow wafers for Mommy and Baby Shark.
Continue the melting process for the Bright White wafers and use them to create the sharks’ teeth and eyes, Black/Dark Chocolate for the pupils, nostrils, and Mommy Shark’s lashes, and Red for the mouths (you can use some of the Bright Pink for Baby Shark’s tongue). Allow them to completely set.
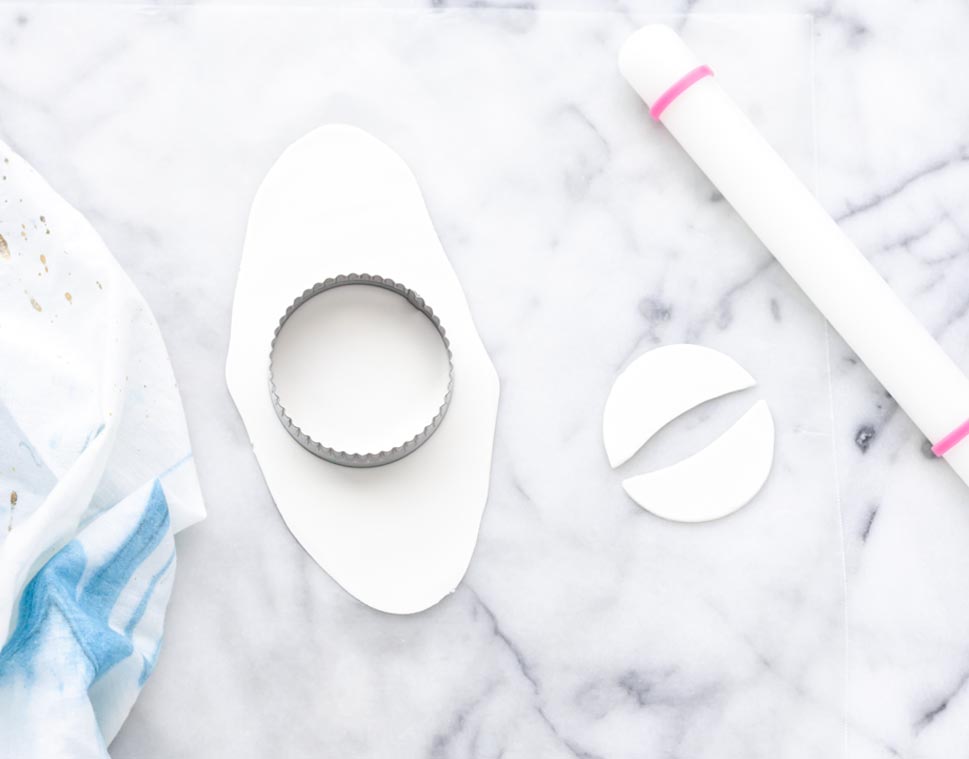
On a sheet of wax paper roll your white fondant out to about 1/16” (I like to sprinkle a little cornstarch onto the paper first, so the fondant doesn’t stick). Use a 2.5” circle cookie cutter to stamp out 6 circles and then cut each in half in a slightly crescent shape for the lower portion of each shark’s face (you can use the template as a guide). Allow them to dry before handling.
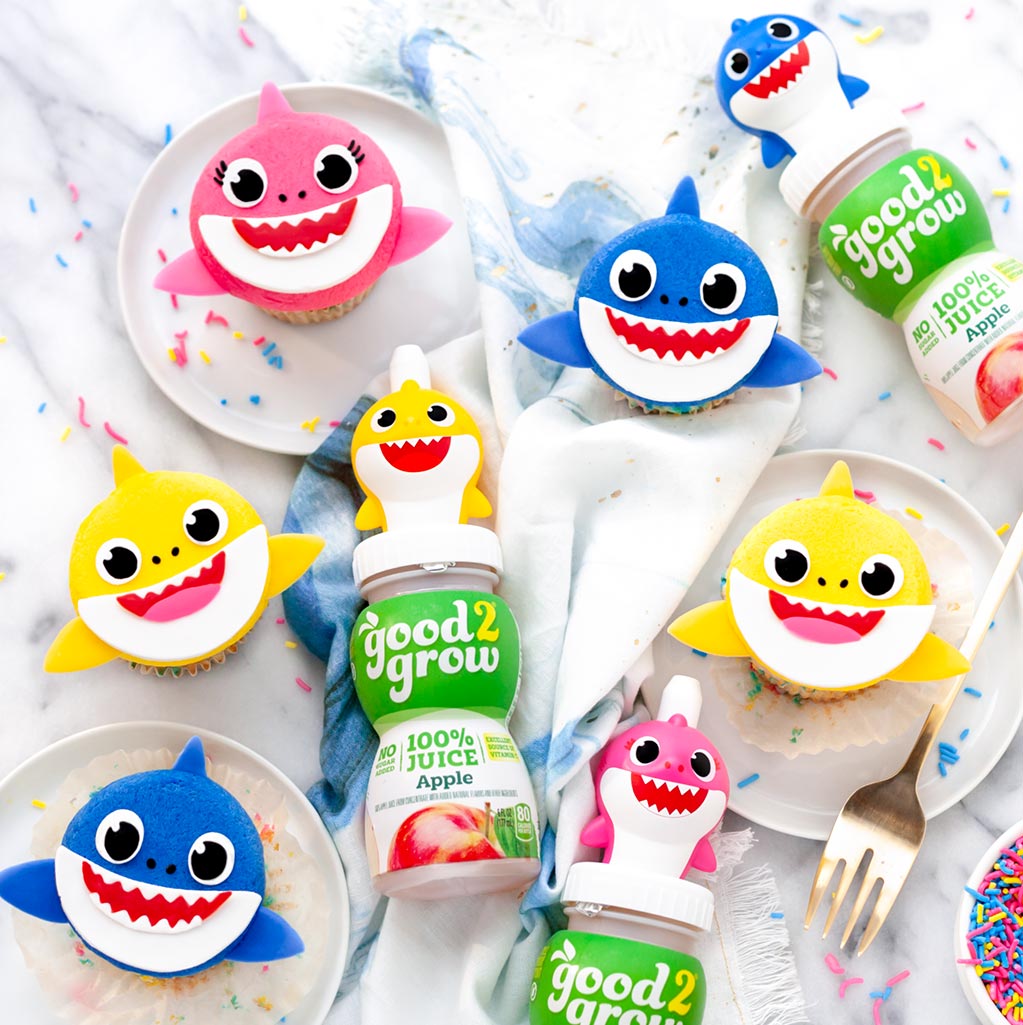
Remove the cupcakes from the refrigerator about 20-30 min before decorating (and eating) to allow the buttercream to soften a bit. Once you’re ready to decorate, gently peel the chocolate pieces off the wax paper and place them on top of your frosted cupcakes (using the template for help). Enjoy!!
Arrange your fin-tastic Baby Shark family cupcakes on your dessert table along with the matching good2grow drinks and enjoy! Extra cupcakes and leftover frosting should be covered and stored in the refrigerator or freezer.
Tag us on Instagram to share your creations with us!

Jessica aka Luxe and the Lady is a dedicated creator of cute food, and the chef/genius/prop stylist behind this amazing recipe. She lives in Ohio with her fluffy pet bunny, Marshmallow. Working on her own and with brands like Disney, Sanrio, Nick Jr, she brings her ideas to life using one of her favorite luxeandthelady.com to see all of her fantastical confections. You’re in for a real treat!